A common health problem many women go through today is Polycystic Ovarian Syndrome PCOS. A lifestyle disorder, this condition develops when the ovaries produce more testosterone than they should. Yoga cannot cure this condition however, it can help you manage symptoms. Studies have shown that practicing yoga balances hormones, reducing testosterone levels. It also alleviates stress, anxiety, and depression, a common cause, and a by-product of PCOS. For relief from pain and other symptoms of PCOS, it is important to do gentle yoga poses, appropriate for all levels. Practice these yoga poses consistently to combat this disorder. Here is an article to know more about how you can manage PCOS with yoga
https://www.shvasa.com/yoga-blog/how-to-manage-pcos-with-yoga
0:01
PCOS or Polycystic Ovarian Syndrome is a hormonal imbalance which leads to enlargement and cysts in the ovaries, a lot of women are affected by it in their childbearing years and it leads to fertility issues; irregular periods acne weight gain and so and so forth. A lot of people are now turning to yoga to seek relief if this is something you are experiencing do continue watching
0:28
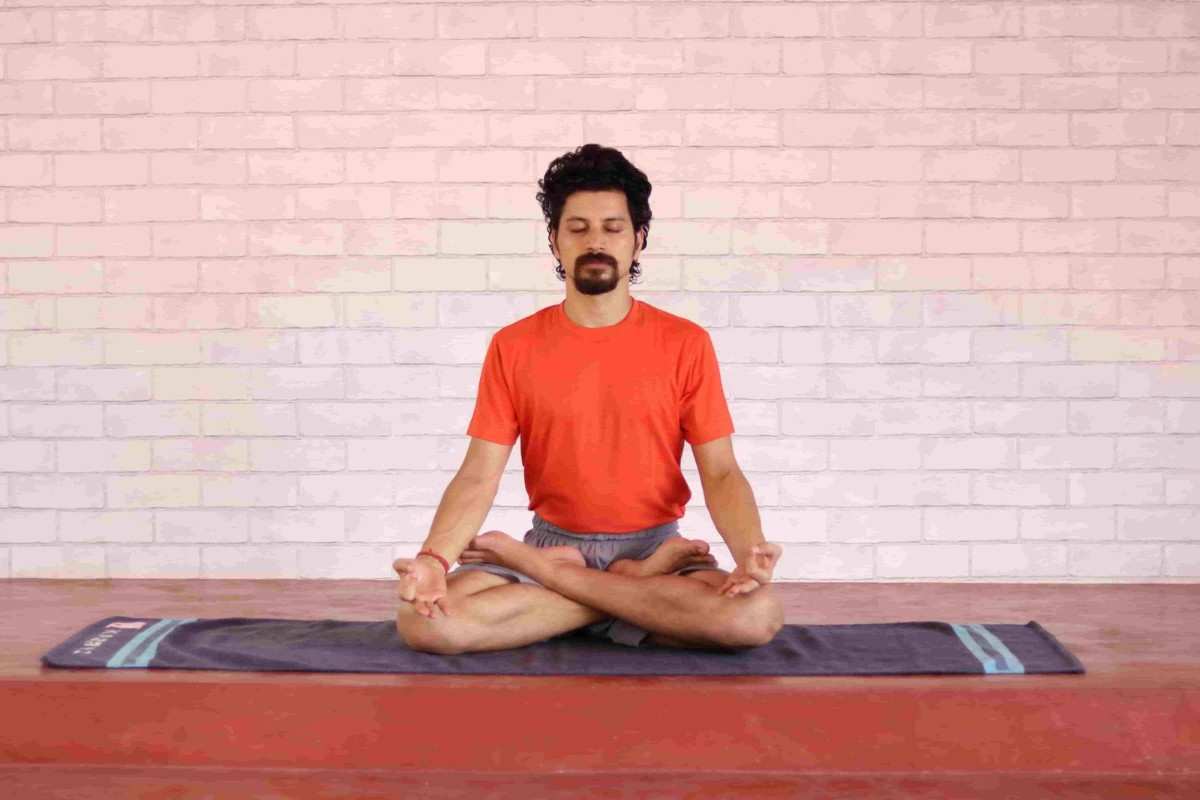
Hi, I'm Swati, and welcome to Shvasa.com. In today's video I'll be showing you a few poses to help you with the symptoms of PCOS and if you haven't already do subscribe to our youtube channel so let's get on to the mat.
If you're seeking relief from symptoms around PCOS, we will be doing some postures today, two kinds, one is for stretching the areas around the abdominal and the pelvic region and also some gentle strengthening of the pelvic floor muscles and building a little hip stability, all these help in relieving the symptoms around PCOS.
1:16
Okay so we'll get started with the first posture which is a yogic squat or Malasana, if you have knee or ankle issues you can use a rolled-up blanket underneath your heels, okay so you start with your feet hip-distance apart you can turn the toes out slightly and then start bending your knees and come all the way down, hips are off the mat and we'll stay here, I'm just showing this round you can do the next round along with me where we'll add some movement.
Okay so let's start, toes out, spine long, bend the knees, and come down. Make sure you're using your props if you need it, so get comfortable and let's add some movement here just to release the hips and to kind of lengthen the spine out, let's interlace the fingers and just lengthen the spine out as best as you can. Stretch, lengthen, take a few long deep breaths here, and release. Okay, you can drop your right hand down, now kind of lean into this, and as you inhale twist, you can take the other hand back if you need balance you can place it behind you and just open the chest out to the left, stay here for three long deep breaths, remember to keep the breathing steady and relaxed.
2:56
Let's come back to the centre, let's switch the side, let's drop the left hand down, and on an inhalation open the chest out. Long deep breaths again, and let's come back to the centre getting ready to hold the posture. You can scoot your arms forward and use your upper arms to kind of open the thighs out, the knees point out, you can press your palms together, engage the pelvic floor muscles and lift the spine up, through the lower back all the way to the top of the head, you can close your eyes if you'd like to and just take five to ten long deep breaths. Okay, this posture is wonderful. Once you're done with five breaths in this posture you can slowly release and repeat it two to three times for five breaths.
4:15
Okay from here we'll be moving to our next pose which is the crescent lunge, if you have knee issues you can again fold up a towel or a blanket and keep it underneath your left knee to begin with okay. So you start just watch me first you drop your hands first come into a mountain and from here step the right leg forward close to the right palm, drop the back knee down. You can use at this point place a towel or a rolled-up blanket here, you're going to come up, roll the shoulders back lift the chest up. If you're comfortable arms can go up in line with your ears and you can stay here for five deep long breaths, a wonderful pose for opening the hips for stabilizing the hips, and increasing the blood circulation to the pelvic region.
Okay, once you're done with five long deep breaths here, gently release the pose. You can drop your hands down tuck the back toes in, lift the back knee off the floor and step the right leg back. Come back into a downward dog and we'll change the side, with the next inhalation step the left leg forward drop the back knee down, shift your prop blanket if you need to, turn the toes out and come into the variation of your choice for five long deep breaths. Taking your awareness to your pelvic floor, keeping a slight engagement. Awareness to the hips, and trying to breathe all the way down as deep as you can, and once you're done slowly come out and prepare for the next pose.
6:18
The next pose we'll be going into is Bow Pose or Dhanurasana, it's a wonderful pose for strengthening your shoulders your spine your legs and it also massages all your abdominal organs and reproductive organs. If you are however suffering from any stomach-related issues, acidity or you have high blood pressure you can avoid this pose. Okay so just watch you're going to come and lie down on your abdomen, you can bend your knees and try to hold your ankles. Now if you can't reach your ankles you can use a strap around your feet and from here as you inhale you're going to lift your head up, chest up and lift the thighs off the mat. All right, so come and join me here. Grab hold of your ankles and we're going to hold this for five long deep breaths, okay so inhale; lift up, roll the shoulders back, extend your elbows and then try to kick your legs up and away from the body without having them go out too much. You want to keep the thighs parallel and you want to stay on your belly, stay here, long deep breaths, feel that pressure on the abdomen, feel a little internal massage and breathe.
Once you're done with five breaths, slowly release the legs down, release the head down and you can take a little counterpose in Child's pose, you can sit back, drop your hips down and rest your forehead down.
8:20
Coming back up the next pose we'll be going for is a Shoulder Stand or Sarvangasana. It's an inversion, so if you have any neck shoulder issues high bp or if you're currently menstruating please avoid this pose. Okay I'm just going to show it to you and then you can join me. We'll start by lying on our back. You can raise one leg up at a time, and maybe this is where you are today if you have any discomfort in the neck you can also roll up a blanket underneath your shoulders and neck and from here start taking your legs up, hand supporting your back, try to walk your hands all the way down, keeping the legs up straight. we're gonna hold this for five breaths and then we'll release. So come join me. Take your time, and once you're here, a little engagement in the pelvic floor; feel that reversal of the blood flowing from your toes from your abdominal organs all the way down and you can gaze at your abdomen and feel the breath moving in and out. Five long deep breaths.
And to come out of it, you can bend your knees, bring the knees towards the chest, place your palms down for support, and slowly roll down with control and you can come into a seated for a little counterpose. You can drop your palms behind you or stay on your fingertips and with an inhalation open the chest out, drop your head back, doing a little reverse stretch for the throat, roll the shoulders back. Stay here for a few long deep breaths. Once you're done with a few breaths here you can slowly release the pose as you exhale and return to a neutral spine.
11:02
So these were some postures to help release PCOS symptoms. They do that by increasing the stability around the hips as well as increasing the flow of blood to all the pelvic organs as well as the entire region. But do remember to practice them regularly. You can do them about two to three times and hold them as long as you'd like.
I hope you found this video useful I'd love to hear back from you do leave a comment. In our online live classes at Shvasa.com, we have small group sizes. So the teachers are able to offer personalised attention if you're looking for a convenient and a safe way to practice at home, do join a session and I look forward to seeing you in class


%201.png)

%201.svg)


%201.svg)


-min.webp)

.jpg)
.jpg)
.jpg)