Backbends are considered to be an essential component of a balanced yoga practice. Practicing backbends improves your flexibility, strength, alignment and range of motion, which helps you go deeper into each posture.
Here are a few postures that will help you understand the key alignments and principles to get into a backbend the right way.
0:01
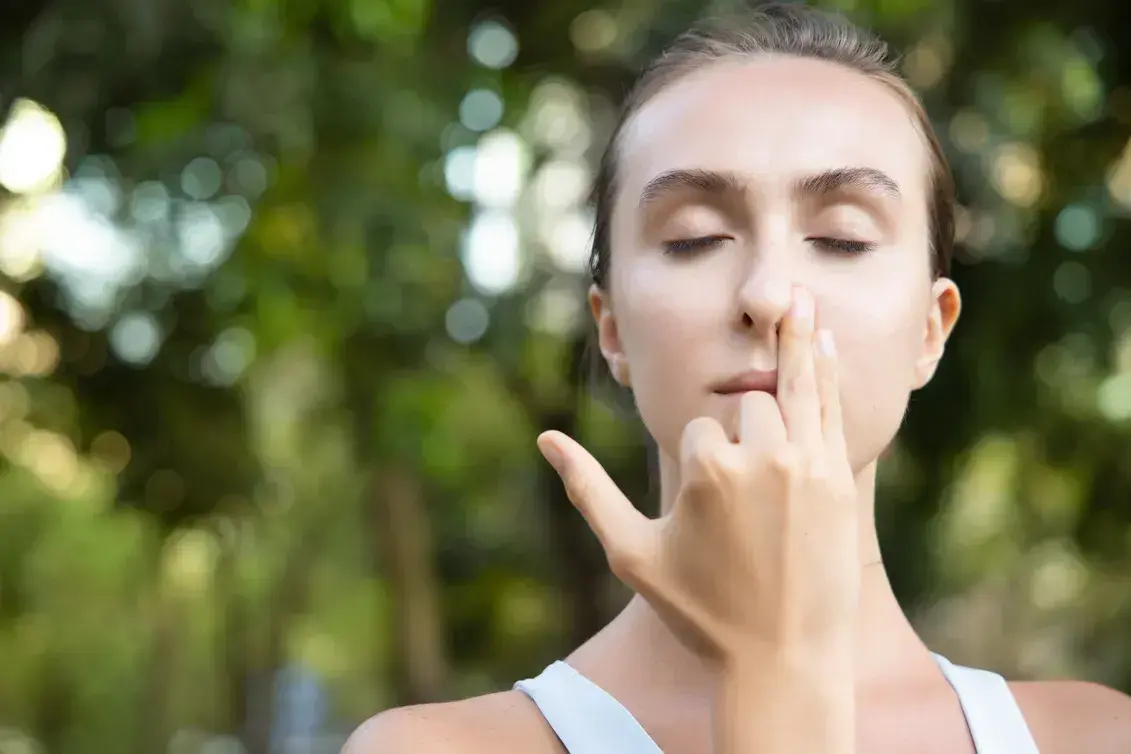
Backbends look impressive, they are energizing at the same time quite intimidating. But if one doesn't practice backbends with the right alignment and proper breath queues, injuries are also a worry. Have you been practicing backbends for a while and looking forward to deepening the practice? Then you have come to the right place. My name is Salina, and welcome to Shvasa.com. In this video, I'm going to share few key alignments that I have used in my practice and will definitely help you go deeper in yours as well. If you haven't subscribed to our channel yet this is the right time to do it.
0:48
Unlike forward bends, backbends can be quite intimidating, just for a fact that the movement goes towards the back of the body and we can't see it. The only way to understand the backbone is to sense it, but once done it is quite satisfying. So here, in this video, I'm going to talk about a few principles that to keep in mind to get deeper into the backbends. The first principle, to begin with, the foundation of our body which is close to the mat, the stability of the foundation would help a key role for you to get into the backbend. To understand that little deeper, let's get on to the mat with me.
1:24
So let me explain the first principle by demonstrating the asana, Urdhwamukha Svanasana or widely known as upward facing dog. So a commonly practiced version of this asana would be the legs are wider and the heels tend to fall to the side right why is it commonly practiced the first reason being, first of all, it is easier to get into the practice and you sense that you are in a deeper backbend. But not necessary it has to be safe for the lower back, so the ideal way of practicing would be keeping the feet hip-width wider, pressing into the top of the feet, wrist, and the shoulders are in one line and then you look forward. All right, so let's practice the second round together, join me on the mat. So we will lie down, legs are the first principle being the foundation, the legs are hip-width wider, press into the top of the feet and the heels are pointing up. The palms are just below the lower rib cage, you will inhale, you will lift the head up chest up, thighs off the mat, knees off the mat, firmly pressing into the top of the feet and then you look forward. You will stay here for five breaths, posture begins now, and breathe. One, pressing firmly into the top of the feet, making sure that the heels are pointing up. Two, gaze is very important, so you look forward. Three, long breaths. Four, one last breath, and five, slowly release the knees down, push back, big toes are touching each other, keep the thighs a little apart and then drop the head down, let's stay here for three breaths. Lower back relaxed, slowly getting ready to come out, release the palm under the shoulder, slowly sit up.
3:30
So in the second principle, we will talk about the bend coming more from the chest versus the bend coming more from the lower back. Again, the widely practiced version would be when we tend to bend the lower back more versus lifting the chest up. Let me demonstrate that with the posture Ustrasana or widely known as Camel Pose, so once again, as we discussed in the first principle, you keep the feet, keep the knees rather hip-width wider, the toes are tucked out. You will turn, and release the palms on the heels, mostly widely practiced version would be you push the hips up but the chest is dropping and the navel is not engaged. All right, so the second principle being, the thighs rolling in, plus it is moving forward, you're lifting from the chest, an analogy can be having a string at the chest and imagine that someone is pulling the string up to the ceiling. All right, the navel is slightly drawn in that keeps the lower back safe all right, and the bend from the neck is definitely optional, if you're comfortable with the neck dropping back, you will release the neck back, and you will stay in the posture, while releasing release the palm, one palm to the opposite shoulder and then you release down. Let's practice the second round together, so come on to the knees, your knees are hip-width wider, toes are extended out, release the palms look at the right heel, you will turn the chest to the left heel and then you release the palm down, the navel is drawn in, thighs moving forward, lifting the chest up and if you're comfortable with the neck you will drop the head back. You will stay here for five breaths, one; consciously pull the navel in, two, three, four, and five. While releasing, release one palm to the opposite shoulder and release the other, release both the palms down onto the mat let the back recover and slowly sit back, extend the hands forward and drop the head down.
6:05
Getting ready to release the posture, release both the palms under the shoulder, slowly sit up. So the third principle being the bend coming more from the hips versus coming from the lower back. Let's look into this principle using the help of an asana called as Hasta Uttanasana or widely known as Standing Back Bend. All right, so again going back to the first principle, that your foundation of the legs, feet are again hip-width wider and energetically you're moving the thighs in, so thighs are rolled in. A widely common practice would be pushing the hips back especially we do a lot of this in Surya namaskar right, we extend the hands up, this feels easier, safer and you feel that you're in a much more backbend, but not necessarily it is safe for the lower back. So let's see how do we practice this to be safer in the lower back. So again feet hip-width wider, thighs are rolled in, you will push the hips forward and the navel is drawn in, lifting the chest up and then bending by pushing the hips forward, lifting the chest up, if you're comfortable you will extend the hands up in line with the arms, all right while releasing, release the palms down to the heart center and release the palms down by the side.
Let's do this posture together, join me. So once again going back to the first principle that's your foundation. Keeping the feet hip-width wider, your thighs are rolled in and very important, pull the hips forward; you're pushing the hips forward and then the navel is drawn in lifting the chest up, you will extend the hands in line with the ears and then looking up. Once again the option of dropping the head back is according to your safety and comfort. If you're comfortable you will look up between the palms and you will stay here for five breaths. one; body tends to get to shiver a lot that's quite normal, two; press into the feet, thighs rolling in. Three; breathing consciously. Four, one last breath and five. Releasing, slowly straighten the trunk and bend the knee slightly, bend from the hips, release. Just the fingertips down, keep the knees bent so the lower back is rested, thighs down, abdomen close to the thighs and then you'll stay here for three breaths. Two and three, we're releasing slowly release the palms on the hips and slowly stand up.
8:47
The fourth principle being the bend coming from the neck. So let's look at this principle, using a posture, Ardha Chandrasana or knowns as Crescent Moon Posture, all right, so coming back to downward-facing dog, you look forward, you will step the right leg forward, revisiting the first principle that's your foundation. Knees tend to drop out, so press into the foot. Your back leg is internally rotated, the thigh is active, you release the palms, most commonly practiced version of this posture would be you will lift the chest, however, you tend to drop the head back, it gives you a sense of going into a deeper backbend, but not necessary it is safer for the neck. So let's look at how do we get into the posture safely, so once again your back knee is pressed, the thigh is rolled in you will release the palms behind, lifting the chest up and the head is diagonally up so that the neck is long looking diagonally up and then you extend the hands up. So let's practice this posture together, join me. So we'll start from Adho Mukha Svanasana or known as the Downward-Facing Dog. You will step the right leg forward, and drop the left knee down, making sure the right knee and the ankle is in one line and the knee is not dropping out to the side. Release the palms, you will tuck the navel in, lift the chest up, and keeping the neck long and comfortable you will extend the hands, and upper arms in line with the ears.
Posture begins now, and you will start to breathe. One; once again pressing into the back, front of the back foot, so that the heel is pointing up. Two, three, comfortably breathing, four; one last breath, and five. While coming out release the palms. Palms by the side of the right foot, tuck your back toe, back knee off, and go back keep the knees bent, so the lower back is rested by bringing the abdomen close to the thighs.
11:01
Let's practice the same on the other side. You will look forward, step the left leg all the way forward, drop the right knee down and the back of the right foot is pressed, so the heel is pointing up. Checking the alignment, your front knee, and the ankle is in one line. Release the palms, push the hips forward, lift the chest slightly up, and then make sure the neck is long and you will extend the hands. Five breaths start now, breathe, one; longer breath, two, three, four. Pressing firmly into the front of the back foot and five. Gently release the palms by the side of the foot, tuck your back toe, back knee off the mat and you will go back. Keep the knees bent, let's stay here for three breaths, one, two, and three. Slowly release the knees down to the mat, toes are out, and sit back. So since we learned all the four principles, let's look at how can we implement all these principles in one asana. So let me demonstrate Chakrasana for you. Commonly known as the wheel posture, so we'll lie down on the back.
The first principle being the foundation, keeping the feet hip-width wider, and the thighs are rolled in the commonly practiced version would be you keeping the feet apart and the knees fall out to the sides and the elbows also drop out to the side right. So let's fix that by keeping the feet hip-width wider, toes slightly can be turned in and the thighs rolled in, your fingers are actively pressed down by the side of the ears and elbows pointing up to the ceiling. You will press into the lower back again, you will tuck the navel in, you will inhale-exhale, draw the navel in, press into the feet, release the crown of the head down, and then you will straighten the elbows and the effort is to press into the feet not letting the knees drop out. You will have the toe slightly pointed in, thighs rolled in, and then you will move the chest through that gateway of the palms. And then the last one would be the dropping of the neck, to be comfortable and look between the palms while releasing the posture. You will bring the chin close to the chest, dropping the back of the head down, and then drop the lower back down. So let's do the second round together, join me on the mat. Lie down keeping the feet hip-width wider, toes are slightly turned in, thighs rolling in, release the palms, you will release the pumps by the side of the ears making sure the elbows are pointing up to the ceiling, press into the lower back and pull the navel in. Inhale, take a long breath here, exhale, navel drawn in press into the palms and place the crown of the head down, feet firmly pressed and then extend the elbows. Throw the head back and look between the palms, posture begins now. We will breathe, one; consciously pressing the big toes firmly. Two; thighs roll in, three; check the navel can be drawn in. Four; one last breath, and five.
14:46
Getting ready to release the posture. Slowly release the chin down to the chest, placing the back of the head down, drop the lower back down gently, and release the feet. Bring the thighs close to the chest. Separate the knee, so the belly can breathe, and then you'll relax. Let's stay here for three breaths. Press the lower back down and relax stay here for a few breaths and slowly release. You can rollover to one side and then you will sit up. So that was the challenge for you! I would love to hear how did the challenge go. Please let us know in the comment section. I would also love to hear how did you implement all the principles in your practice and let me know how is the backbone progressing. If you're looking at a professional and yet a convenient way to practice yoga from home, join our online live classes at Shvasa.com. I look forward to seeing you in the class.


%201.png)

%201.svg)


%201.svg)


.jpg)