


It’s not always the gym or lifting weights that improve core strength. Flexibility, balance and peace of mind are the first few benefits of yoga that come to mind. However, improving core strength is an important benefit that many asanas provide. Styles of yoga such as Ashtanga and Vinyasa are dynamic, fast and challenging. While every movement is still coordinated with the breath, these styles have a significant impact on strength. Furthermore, certain yoga classes are designed to focus on core strength. Classes that target the legs, back and core are all beneficial for overall core strength. Let’s first look at what are the benefits of core strength.
Why you should work on core strength
The abdominal wall in the front, the side muscles, muscles of the pelvic floor and muscles of the lower back form the core. Strengthening the core improves your abdominal muscle strength and back muscles. It also improves stamina and energy, especially when doing anything physically strenuous. This will also have an impact on your breathing. For example, let’s say you go for a run. Normally after running a mile you begin to feel breathless and your breathing is shallow and fast. But if you continuously work on your core strength, over time, even after running 2-3 miles your breathing will not be as fast or shallow as it would after one mile. There’s also the added benefit of yoga making you mindful and improving your breathing patterns. That also has a definite impact on how you breathe while exercising.
Stronger core muscles will also help improve posture. Your posture while moving like running, walking, exercising, playing a sport and while sitting or standing will be better as you won’t get tired so easily or sub-consciously hunch. It will also strengthen and correct any muscle imbalances in the region. It’s also important to note the core supports the back and back supports the core. So having strong back muscles is also beneficial. The abdominal wall is what supports the core. And this is connected to the lower back. So having a strong core will help you avoid back pain, especially in the lower back.
Therefore, improving core strength is not about having abs or a flat tummy. It has a strong impact on your entire body. When the core muscles are strong, a lot of correction, balance and strengthening happens throughout the body.
The role of mindful breathing
Breath is every living being’s common superpower. The way you breathe defines your health, energy, balance, focus and strength. Deeper, stable and calmer breathing will keep your energy levels high, yet keep you relaxed. While fast, shallow breathing will make you tired and exhausted faster. When working on the core, it is important to take slow, deep breaths. This will give your body the energy and strength to hold a yoga posture for longer. The longer you hold, the better your core strength. When you are more mindful of your breath, you will continue to breathe consciously through the day. So when you are walking to the subway or to the office or taking your kids out, you won’t struggle to keep up. Your breath will support your core, improving your stamina and energy.
Yoga poses for core strength
While dynamic, fast paced movements like Ashtanga Surya Namaskar A and B and many other sequences are some of the best practices for core strength, there are individual core yoga poses you can do for core strength. A core yoga workout might be difficult in the beginning. Initially you might not be able to hold the posture for more than five breaths or say 30-seconds. But start, and slowly slowly increase your holding time. As your core gets stronger, you will be able to hold the asana for longer. The trick with yoga poses for abs is to continuously engage your core and to take deep breaths. Here are a few yoga postures for core strength.
Boat pose
This is a wonderful asana that engages the abdominal muscles. It also improves stability and balance. You can start by trying the high boat or low boat and as your core strength increases there are plenty of variations you can try which will truly challenge you.

How to do boat pose:
- Lie down on your mat. Inhale, and as you exhale lift your upper body and your legs up.
- Bring the legs straight up to a 45-degree angle. The torso will tend to fall back, but do not let the spine collapse. Keep your back straight.
- Stretch the arms in a straight line with your shoulders.
- Your body will be in a ‘V’ shape.
- Stay here for 5-10 breaths or as long as comfortable. Keep taking slow, deep breaths and engage your core.
Plank pose
The plank pose is also the fourth asana in the traditional Surya Namaskar sequence. The posture activates the abdomen, strengthens the core, arms, shoulders and back muscles. It engages both the internal and external muscles of the abdomen including the obliques, transverse, and rectus abdominis. In this asana, focus on drawing the navel towards the spine. There are many dynamic movements you can make in this posture once you have gained some amount of core strength.

How to do plank pose:
- From the standing forward bend (Uttanasana), walk both your legs back. You can also jump back if you have the right stability and strength.
- Adjust your posture. Ensure your palms are below your shoulders, and shoulders are not moving ahead or behind the palms. Tuck your toes and keep the feet a foot apart. The back should be straight and should not sink down towards the mat.
- Engage the core. Take deep breaths and hold the posture for as long as comfortable.
Side plank
A type of plank pose that requires you to use strength and your sense of balance to hold the posture on one arm and one leg. There is a lot of endurance that goes into holding this position which targets the obliques. You can also do a dynamic movement where you keep switching between both sides.

How to do side plank:
- From Plank, shift your weight onto your right arm and simultaneously roll onto the outside of your right foot.
- Keep both of your legs straight. Bring your left foot on top of the right. You can also place the feet one behind the other if that's more comfortable.
- Lift your left arm up towards the ceiling and your gaze towards the left fingertips.
- After 3 to 5 breaths, come back to the center and repeat this on the other side.
Forearm plank
This is also called the dolphin plank pose. This posture also strongly activates the abdominal muscles. It helps you build strength and endurance. In this posture you can do a dynamic movement between the normal plank and forearm plank.

How to do forearm plank:
- From the plank, come onto your forearms. Similarly to the plank pose, your shoulders will remain in line with your elbows.
- Keep the toes tucked and the feet a foot apart. The back should be straight and should not sink down towards the mat.
- Engage the core. Take deep breaths and hold the posture for as long as comfortable.
Dolphin pose
The dolphin pose, also called the forearm downward facing dog, requires strength and endurance. It also requires a certain amount of hip flexibility. However, in this asana you can do the easier version where your toes are tucked rather than keeping your feet flat on the mat.

How to do dolphin pose:
- From the forearm plank, walk your feet forward slightly. Similarly to the downward facing dog, you will raise the buttocks such that your body forms an inverted ‘V’. You can also interlock your palms. Make sure your elbows are not falling outwards.
- Let the head be straight between the forearms. Keep the neck straight and long.
- Keep your core engaged. Toes are tucked or feet are flat on the mat. Take long deep breaths and try to stay here for 5-6 breaths.
Wheel pose
This is one of the best backbends you can do. It strengthens all the back muscles, providing a toning effect. It also targets a large part of your core and abdominal muscles, improving core strength. The asana itself requires a significant amount of core strength to hold and stay still.

How to do wheel pose:
- Lie down on your back with your knees bent and pointing towards the ceiling.
- Place your hands beside your shoulders, but slightly wider than shoulder distance. This will give you a better alignment.
- Inhale and as you exhale, press your feet and hands firmly into the floor and life your entire body into the air.
- Your body will form the shape of a wheel. Adjust your posture by pushing your chest outwards slightly.
Chair pose
The chair pose is a challenging position that strengthens your core as well as all the muscles in the legs and hips. It strengthens the rectus abdominis, external obliques and transversus abdominis.

How to do chair pose:
- Stand in the tree pose (Tadasana). Now take your feet slightly apart (a little less than shoulder width).
- Slowly bend your knees such that your thighs are parallel (or almost parallel) to the floor. Pretend like you are sitting on the chair, but actually your buttocks are in the air. Make sure your back remains straight.
- Now raise both the hands up keeping them straight. Look directly in front of you and hold the posture with your breath.
- You will have to engage the core and thighs to hold the posture.
Warrior series
The warrior series (warrior 1 and 2) are all strengthening asanas that work on the core, legs, arms and back. They require endurance, balance, strength and flexibility.

How to do the warrior series:
- The starting position of all these asanas is the same. Stand about 3 feet apart with your right foot facing forward while your left leg is straight behind you with your foot flat on the floor. The foot will be pointing outwards.
- Come into a lunging position with your torso facing forward for warrior one.
- Now raise your hands up and gaze forward. Make sure your front leg knee is in line with your foot and thigh is parallel to the floor.
- For warrior 2, turn your torso to the side such that you are facing sideways. But turn your neck and look in the direction of the front foot. Bring your hands to shoulder level such that the hands are parallel to the mat.
- For both poses you will have to engage the core, thigh muscles, abdominal muscles and take deep breaths. Keep the back straight, focus your attention on any stretch you are feeling in different parts of the body.
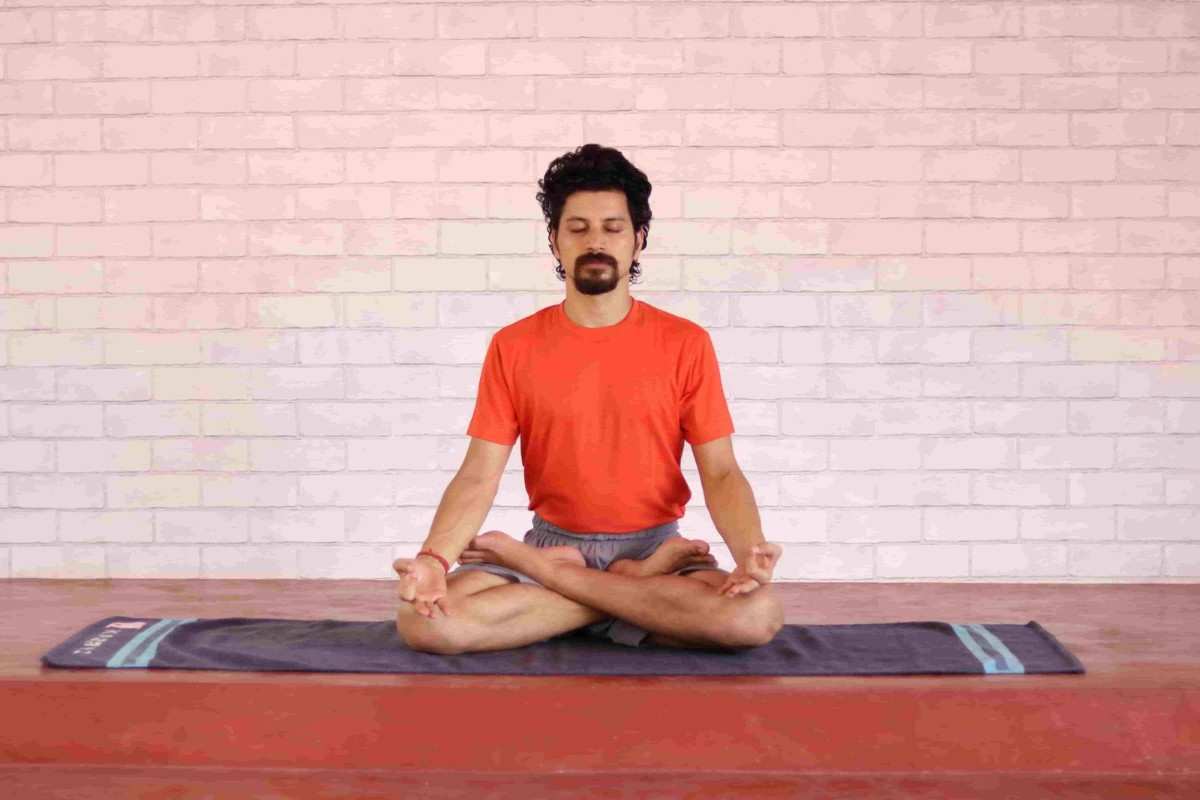
Lotus pose or Padmasana using the abdominal lock (Uddiyana Bandha)
While sitting in the lotus pose, you can apply Uddiyana Bandha or the Abdominal Lock. It is one of the three main Bandhas or locks practiced by yogis. This lock is practiced by pulling the abdomen inwards after exhalation and holding the breath outside. In this Bandha, the abdominal muscles press the organs in the abdomen against the wall behind the organ, next to the spinal column. This provides a strengthening effect on the abdomen.

How to do lotus pose with the abdominal lock:
- First sit in the lotus pose or Padmasana.
- Place the palms on the knees, breathe normally and relax the whole body. Inhale deeply and then exhale fully.
- Now, holding the breath outside, slightly bend the shoulders and lean forward. Press down on the knees with the palms.
- Contract the abdominal muscles and pull it inside and upwards. You should feel as if there is a suction from just behind the sternum. This will enable the abdomen to go fully inside pressing all the abdominal organs against the back wall of the spine.
- Hold the lock with the breath outside for as long as you are comfortable. You might be able to start with a few seconds and then gradually increase it to a minute as well.
- To release the lock, first release the abdominal muscles. Then bring the shoulders back to normal position and relax your palms. Let your breathing come back to normal. You can practice this two more times if you wish to.
Shoulder stand with root lock (Moola Bandha)
Applying the root lock, Moola Bandha while practicing the shoulder stand is another beneficial practice for core strength. Moola bandha is the root lock so here the pelvic floor muscles are tightened and engaged along with the abdomen and core. While doing inversions like the shoulder stand it is easier to apply this lock. You can also apply moola bandha in other inversions like headstand.

How to do shoulder stand with the root lock:
- First come into the shoulder stand. As the pelvic floor lifts, you have to extend the front of the body and slowly reach upward through the legs and feet and lengthen the groins and waist.
- Draw the sit bones together, and draw the tailbone toward the pubic bone. This is moola bandha.
- Now with moola bandha engaged, inhale drawing up to the navel, sternum, throat, eyebrow center, and finally to the crown of the head, all the while lengthening the central axis of the body toward the ground. Follow the exhalation through the same way - through the central axis and all the way back to the moola or root of the spine.
Breathing Exercises for core strength
Breathing exercises or Pranayama also have a strong impact on core strength. Let’s look at some of these practices.
Frontal lobe cleansing or Kapal Bhati
While the frontal lobe cleansing technique helps manage weight, blood sugar and stress levels, it also has an impact on the abdomen. The front and back movement of the stomach works towards strengthening the muscles. It also activates the core, especially the transversus abdominus, a deep muscle that is often weak or underactive. Furthermore, Kapal Bhati also ignites the digestive fire, having a profound impact on the digestive system.
How to do Kapal Bhati:
- Sit comfortably with your spine erect. Place your hands on the knees with palms open to the sky.
- Take a deep breath in. As you exhale, pull your navel back towards the spine. Do as much as you comfortably can. You can also keep your right hand on the stomach to feel the abdominal muscles contract.
- As you relax the navel and abdomen, the breath flows into your lungs automatically.
- Take 20 breaths to complete one round of Kapal Bhati.
- After completing the round, relax with your eyes closed and observe the sensations in your body. You can do two more rounds of Kapal Bhati if you are comfortable.
Abdominal breathing
Abdominal breathing engages the abdominal muscles extensively. The contraction and expansion that happens with each deep breath also engages the torso and rib cage. It expands forward, back, and to the sides so there is a lengthening of the transverse abdominis muscles and obliques every time you breathe in. This means with abdominal breathing you strengthen your deep and side-core muscles every time you inhale.
How to do Abdominal Breathing:
- Lie down on your mat in the corpse pose (Svanasana). Place one hand on the middle of the upper chest. Place the other hand on the stomach, just beneath the rib cage but above the diaphragm.
- Inhale and slowly breathe in through the nose, drawing the breath down toward the stomach. The stomach should push upward against the hand, while the chest remains still.
- To exhale, tighten the abdominal muscles and let the stomach fall downward while exhaling through pursed lips. Again, the chest should remain still. Practice 5-7 rounds or as many as you can.
- You can also do this in a seated position with your spine erect.
Concluding thoughts
Many more dynamic movements can be done to challenge yourself and push your limits. It might be tough at first but listen to your body, do what you can and keep pushing to do just a little more every day. Over time you will begin to notice your endurance and strength increasing greatly. Coordinate your movements with your breath so that you are more mindful and aware of how your body is feeling throughout the practice.


.jpg)
.jpg)
.jpg)


%201.png)

%201.svg)


%201.svg)